These are the changes of ARK: Survival Evolved’s Patch 174.0, grouped by categories for clarity. If not otherwise indicated, they’re quoted from the relevant Steam Thread.
Modified Items / Structures
- Fix for Gas Consumption Rate (30x improvement)
- Armor durability rebalancing (~3x durability)
- Tripled the metal content of metal and rich-metal rocks
- Re-added a small chance to get metal from river-rocks. Thanks for the feedback everyone, it makes sense to provide an alternate less-intense progression path 😉
- Made Smithies and other containers automatically have the necessary engrams when new engrams are added, rather than having them be rebuilt
Modified Game Mechanics
- Increased level cap to 70
- Raised Max Tamed Dino Level Additions to 38
- Raised Max Player Level to 64, providing 120 additional Engram Points
- Increased effectiveness of temperature insulation by 20%
- Fixed a bad damage multiplier for explosives on Wood structures (like several times too strong :-P)
- Cloth now adds positive hyperthermic insulation, all other armors currently add negative hyperthermic insulation but now scaled more appropriately. Swimwear coming to add more positive hyperthermic insulation!
Changes related to Dinos
- Fix for Flyer Stamina (!)
- Prevented tamed dinos from drowning so easily
- Dino Knocked-Out state will now hold until the Dino’s Torpor reaches 0%, previously they could exit earlier. However, their Torpor will decrease more quickly based on how much their maximum Torpor level is so that higher-level Dinos are naturally more difficult to keep knocked-out.
- Non-water Dinos will now attempt to swim to the surface and not drown 🙂
- Mid-size dinos (less than Rex, such as Stego etc) now properly fit thru the Dino Gate. For large-tier dinos you need still a Mega Gate, of course.
- Adjusted Spawn Rates: Piranhas more common on insland lakes/rivers (they were missing primarily), Carnos less common everywhere, Spinos less common everywhere
- Reduced Spino overland run & walk speeds by 25%
Client Features
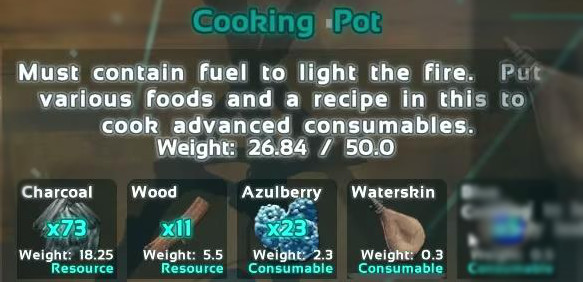
- Made it clear via description that the Food Preservation Bin requires Sparkpowder to preserve food, and that it can also create Beef Jerky.
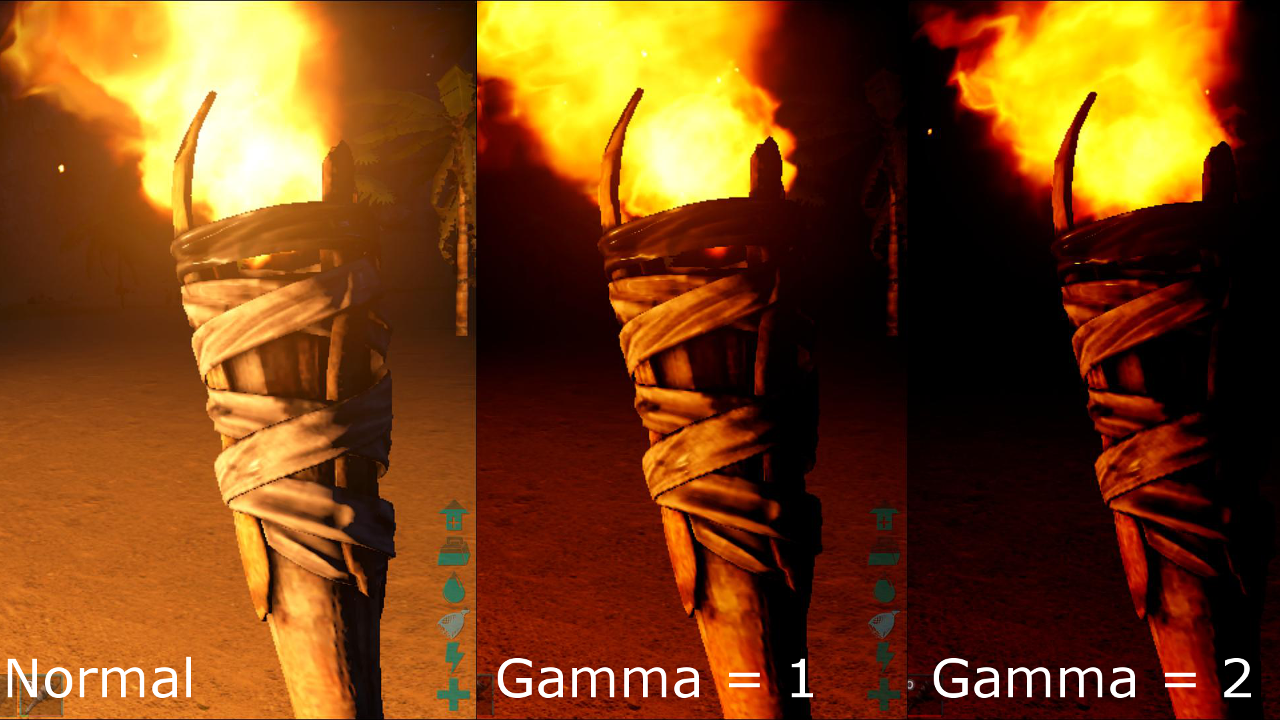
- Added Option to disable Torpor screen flash (purple flash)
- Bronto saddle can now be equipped properly 🙂
- Fixed armor insulation values & UI display (wasn’t displaying hyperthermic insulation properly)
Server Changes
- Changed autodestruct in PvE structures to 18 days, and made it so that rather than automatically demolishing itself, the structure then gives the option for anyone to demolish it via radial menu.
Client Bugfixes
- Fixed LOD’s on dino gates and other assets
- Fixed crafting table requirements on a number of items, to now display their proper crafting table in the Engram UI (i.e. now it says that a Smithy is required to craft a Spinosaurus Saddle)
(Original Announcement on Steam)